The Silent Calculus: Mastering Dark Frames and Calibration
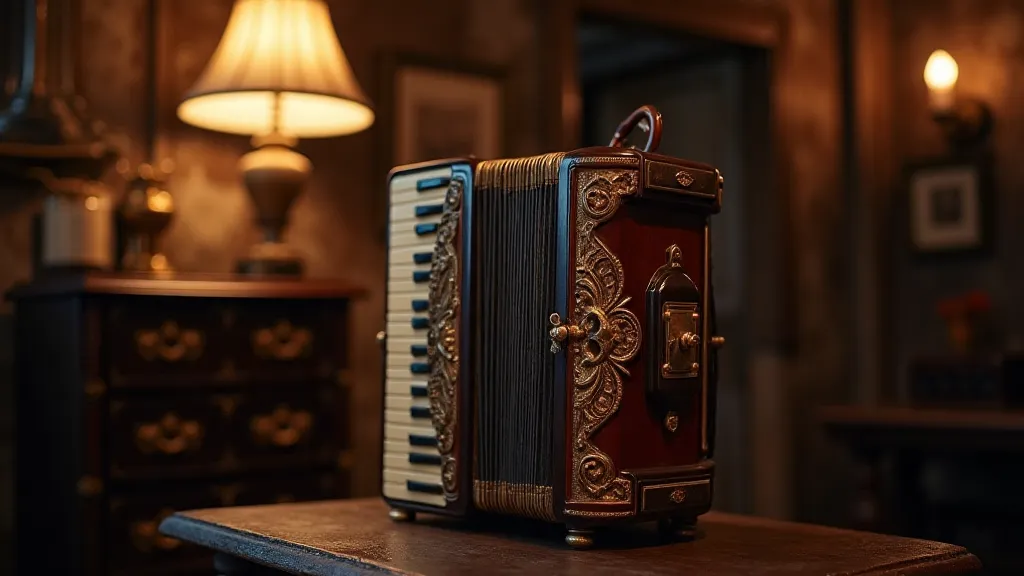
There’s a certain beauty in things that function silently, steadily, and with an enduring grace. I think of my grandfather's antique accordion, a Hohner Victoria from the 1930s. It’s a complex machine, a marvel of engineering and artistry. Each key, each reed, each bellows, a testament to a time when craftsmanship wasn’s about speed or mass production, but about imbuing an object with a spirit. You press a key, and a tiny, precisely shaped reed vibrates, creating a note, a vibration that resonates through the wood and leather, connecting you to the maker, to the past. Just like those reeds, meticulously tuned and working in concert, calibration frames in astrophotography are essential, though often unseen, elements that create the final image.
Astrophotography isn't simply pointing a camera at the night sky. It's a calculated endeavor, a delicate dance between light, equipment, and processing. The raw images coming from your camera when capturing the cosmos often bear the marks of the equipment itself: noise, uneven illumination, and imperfections. And it’s here, in the realm of calibration frames, that we begin to tame those imperfections and reveal the true beauty hidden within the starlight. Think of it like restoring that old accordion – you’re not changing its fundamental character, but gently removing the grime and damage to let its inherent beauty shine through.

Understanding the Imperfections: The Source of Noise
Our cameras aren't perfect. They’re complex electronic devices, and every sensor has its quirks. The ‘noise’ we see in long-exposure astrophotography isn't just random static; it's a composite of several factors. Thermal noise, generated by the sensor itself as it heats up, is a significant contributor. Read noise, inherent in the camera's circuitry, adds another layer of grain. And dust, that inevitable collection of particles that settles on the sensor, scatters light in unpredictable ways. These imperfections are always present, lurking beneath the faint glow of distant galaxies.
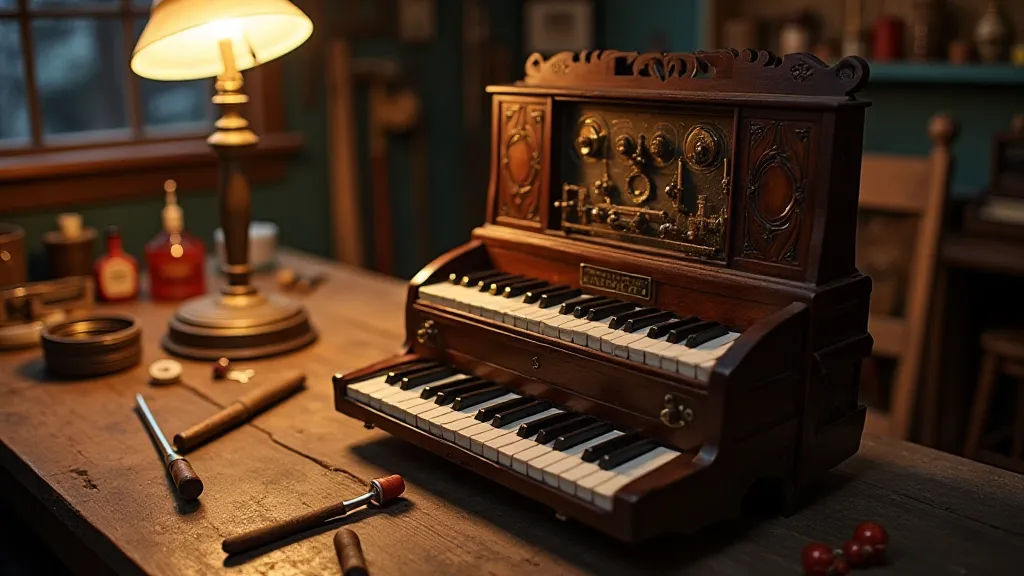
Imagine trying to play a complex piece on that Hohner Victoria, but the keys stick, some reeds are muted, and a layer of dust obscures the intricate carvings. You'd struggle to produce a clear, accurate sound. Similarly, uncalibrated astrophotography images are marred by these imperfections, obscuring the faint details of nebulae and galaxies.
The Calibration Trinity: Dark, Flat, and Bias Frames
The good news is, we can address these imperfections systematically. Calibration frames are our tools for doing so. Let's break down the three main types:
- Dark Frames: These are images taken with the lens cap on, using the same exposure time and ISO as your light frames (the actual images of the sky). They capture the thermal noise and read noise inherent in your camera's sensor.
- Flat Frames: These are images taken of a uniformly illuminated surface, often a white t-shirt or a specialized flat panel. They correct for uneven illumination caused by dust on the sensor and variations in the lens’s transmission.
- Bias Frames: These are similar to dark frames, but with the shortest possible exposure time (usually 1 second or less). They capture the read noise and the electronic offset inherent in the camera's circuitry.
Consider them the equivalent of meticulously cleaning each reed and key on the accordion, ensuring a consistent and accurate response from every element.
Practical Steps: Acquiring and Applying Calibration Frames
Acquiring calibration frames isn’t difficult, but it requires some planning and attention to detail. For dark frames, take around 20-30 images, ideally taken at the same temperature and time as your light frames. For flat frames, you’ll need a uniformly illuminated surface and a stable setup. Bias frames are typically taken during the initial setup and can be reused for subsequent imaging sessions if the camera’s temperature remains consistent.
Most astrophotography processing software, like DeepSkyStacker, PixInsight, or Siril, will guide you through the process of applying these frames. The software essentially subtracts the noise pattern captured in the calibration frames from your light frames, revealing a cleaner, more detailed image.
Beyond the Basics: Advanced Calibration Techniques
As you progress in astrophotography, you might explore more advanced calibration techniques. Dithering, for example, involves slightly shifting the camera’s position between exposures. This helps to average out hot pixels and reduce the effects of dust motes.
Another technique is using master bias and dark frames, which are created by averaging a large number of individual bias and dark frames. This reduces the noise in the master frames, resulting in even cleaner light frames.
The Rewards of Patience: Revealing the Cosmos
Mastering calibration frames requires a bit of upfront investment in time and effort. It's not glamorous work, but the rewards are immense. The difference between a poorly calibrated image and a well-calibrated image can be staggering – a transition from a noisy, speckled mess to a breathtaking view of the cosmos.
There’s a quiet satisfaction in knowing that you’re not just capturing images, but meticulously crafting them, revealing the beauty that lies hidden beneath the surface. Just as a skilled restorer brings an old accordion back to life, revealing its original charm and resonance, calibration frames allow us to unveil the subtle wonders of the universe.
It's a reminder that true beauty often requires patience, dedication, and a willingness to delve beneath the surface – a principle that applies equally to the cosmos and to the intricate workings of a vintage accordion.